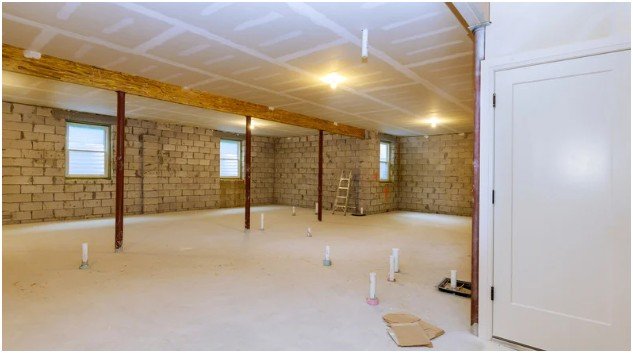
Why did I start exploring basement finishing ideas on a budget?
I remember standing in my unfinished basement thinking it felt more like storage chaos than usable space. Cold concrete floors, exposed pipes, dim lighting. It didn’t feel inviting at all.
Instead of planning an expensive renovation, I focused on basement finishing ideas on a budget that gave quick visual impact without touching the structure. That shift changed everything.
I stopped trying to “finish” the basement in the traditional way. I started thinking in layers. Comfort, lighting, flooring, and vibe. Once I approached it like a lifestyle upgrade instead of a construction project, progress felt easier.
What makes basement finishing ideas on a budget actually work?
The biggest lesson I learned is this: skip major construction and focus on cosmetic wins that change how the space feels daily.
Framing walls and installing drywall eats up budget fast. Instead, I leaned into an industrial look. Exposed elements stopped looking unfinished once I styled them intentionally.
I also realized that basements don’t need perfection. They need function. When I created zones using rugs and furniture instead of walls, the space suddenly felt organized and purposeful.
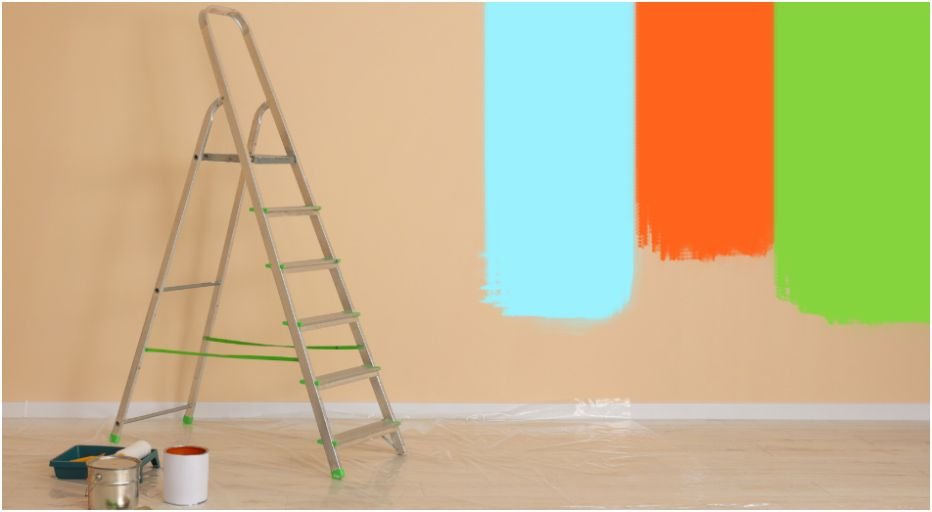
How did I upgrade flooring without spending a fortune?
The concrete floor used to feel cold and dull. Instead of covering it completely, I worked with it.
First, I cleaned and sealed the surface after fixing uneven flooring. That alone made it look brighter and easier to maintain. Then I layered in affordable upgrades based on how I used the space.
Here’s what worked best:
| Option | Why I Used It | Budget Impact |
| Concrete paint | Brightened the space instantly | Very low |
| Peel-and-stick vinyl | Added a finished look | Low |
| Foam mats | Comfortable for workouts | Low |
| Area rugs | Defined zones and added warmth | Flexible |
Peel-and-stick vinyl became my favorite upgrade. It gave the basement a polished look without complicated installation. Once I prepped the floor properly, the tiles went down smoothly and stayed in place.
Area rugs made a huge difference too. I placed multiple rugs over the floor to create a play area and a lounge zone. That alone made the basement feel like a real living space.
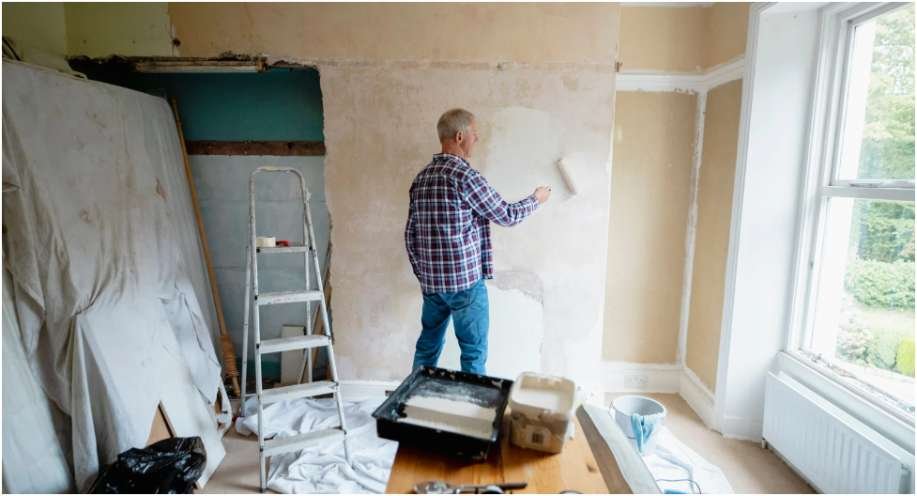
Can painting an exposed ceiling really transform a basement?
This was the boldest change I made, and honestly, the most rewarding.
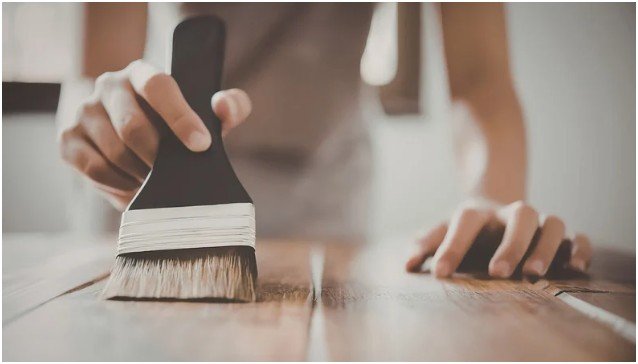
Instead of hiding pipes and ductwork, I painted the entire exposed ceiling. It instantly made everything feel intentional rather than unfinished.
I used a flat black color to create a “disappearing” effect. Suddenly, the clutter overhead faded into the background, and the room felt more modern.
The real game-changer was using dryfall paint. It made cleanup easy because any overspray dried into dust instead of sticking to everything.
Preparation took time, but it paid off. I covered everything carefully, cleaned all dust, and sprayed from multiple angles. The result looked far more professional than I expected.
How did I make the basement feel comfortable and not damp?

A basement can look good but still feel uncomfortable if you ignore moisture.
I added a dehumidifier early on, and that alone changed how the space felt. The air became lighter, and everything felt more usable.
Comfort also came from layering textures. Rugs, soft seating, and even foam mats helped reduce that cold basement feeling.
Lighting played a big role too. I combined overhead lights with floor lamps and string lights to eliminate dark corners. The space felt warmer and more inviting right away.
How do I use basement finishing ideas on a budget to create zones?
Instead of building walls, I used simple visual cues to divide the space.
I placed rugs strategically to define areas. One became a TV zone, another a play area, and a corner turned into a small workspace.
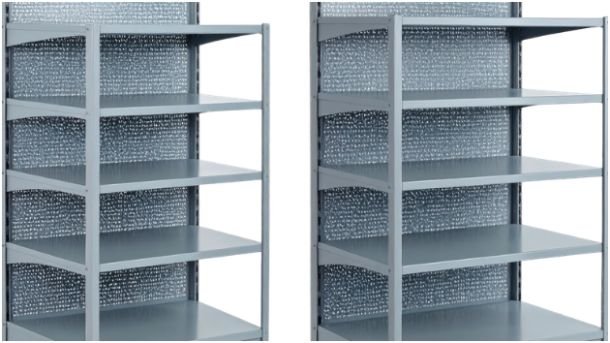
Furniture helped guide the layout. A couch facing a wall created a natural boundary, while open shelving separated spaces without closing them off.
Curtains became my secret weapon. I hung them from ceiling joists to hide storage and mechanical areas. It gave the basement a cleaner look without any construction.
How to apply basement finishing ideas on a budget step by step?
Step 1: Start with cleaning and moisture control
I deep-cleaned the entire basement and checked for moisture. I used a simple plastic sheet test on the floor to see if condensation formed. If it did, I addressed it before moving forward.
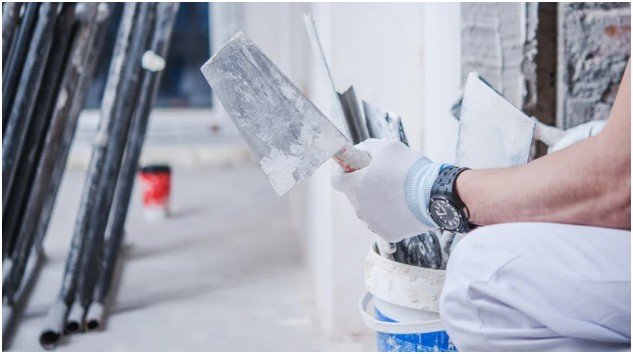
Step 2: Prep the floors properly
I scrubbed the concrete with a water-based cleaner and filled cracks with a leveling compound. Then I sealed the surface to improve durability and adhesion for any flooring.
Step 3: Upgrade flooring in layers
I installed peel-and-stick vinyl in key areas and added rugs to define zones. I didn’t rush to cover everything. I focused on where I actually spent time.
Step 4: Paint the exposed ceiling
I cleaned all surfaces, covered everything carefully, and used a sprayer with dryfall paint. I worked in sections and sprayed from multiple angles for full coverage.
Step 5: Add lighting and comfort
I layered lighting using overhead fixtures, lamps, and string lights. Then I added soft textures like rugs and seating to make the space feel lived-in.
Step 6: Create zones without walls
I used furniture placement, rugs, and curtains to divide the space. This gave structure without increasing costs.
What small upgrades made the biggest difference?
Some of the simplest changes had the biggest impact.
Painting the ceiling changed the entire look. Rugs made the space feel warm instantly. A dehumidifier improved comfort more than any decor item.
I also noticed that lighting affected everything. Once I removed dark corners, the basement stopped feeling like a basement.
The key was consistency. Each small upgrade built on the last, and together they created a space that felt intentional.
Key Takeaways
- Focus on cosmetic upgrades instead of structural changes
- Prep work determines how long your upgrades last
- Layer flooring instead of replacing everything
- Paint exposed ceilings for a modern industrial look
- Use rugs, lighting, and furniture to define zones
- Control moisture early to improve comfort
What are the most common questions about basement finishing ideas on a budget?
1. Is it worth finishing a basement on a budget?
Yes, it absolutely is. Even small upgrades can turn unused space into a functional area. You don’t need a full renovation to make a noticeable difference.
2. What is the cheapest way to finish a basement floor?
Cleaning and sealing concrete is the cheapest option. Adding rugs or peel-and-stick vinyl gives extra comfort and style without high costs.
3. Do I need to cover my basement ceiling?
No, you don’t. Painting an exposed ceiling often looks better and saves money. It also keeps ceiling height intact.
4. How do I make my basement feel less damp?
Start with a dehumidifier. Then seal surfaces and improve airflow. Moisture control makes the biggest difference in comfort.
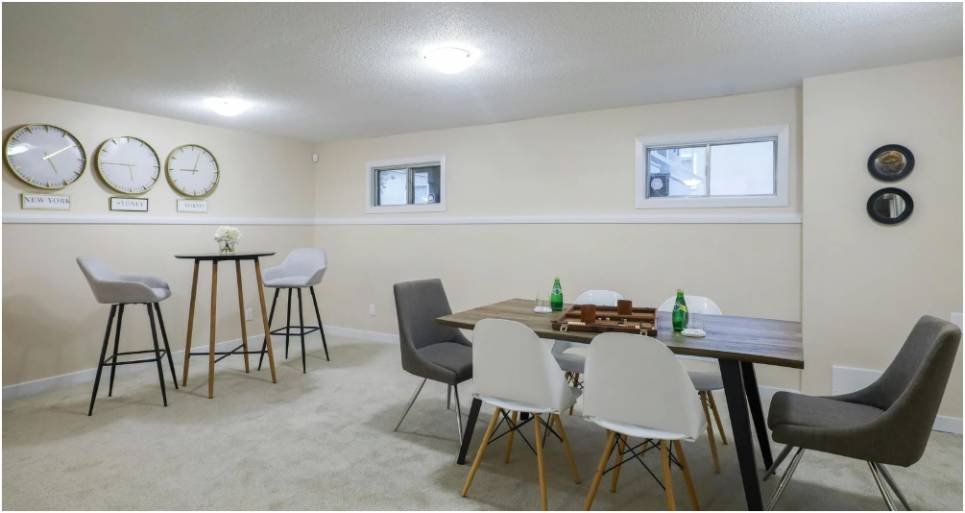
So, is a stylish basement really possible on a budget?
I used to think a finished basement required a huge investment. Now I know it comes down to smart choices and consistency.
Once I focused on basement finishing ideas on a budget, everything became more manageable. Each small change improved how the space looked and felt.
The best part is that the basement now fits into my daily routine. It’s no longer a forgotten area. It’s a space I actually use and enjoy.
If I could share one tip, it would be this:
Start small, stay consistent, and let each upgrade build momentum.